
The first time I tried growing microgreens in my spare bedroom, I thought I was an absolute farming genius. I envisioned myself tossing fresh, vibrant broccoli greens onto every meal like a high-end chef. Then came day four. I walked into the room, expecting a lush green carpet, and instead, it looked like my trays had grown a thick, fuzzy, white disco beard. It was mold. Lots of it. I did what any reasonable adult would do: I panicked, threw the entire tray in the trash, and questioned my life choices.
Since that tragic day, I have spent years perfecting my indoor growing setup. I have turned my fuzzy nightmares into pristine, high-yield harvests. Mold is the number one enemy of indoor growers, but once you know the secret techniques, you can stop it before it even starts. Here is my ultimate guide to keeping your microgreens completely mold-free.
Fuzz Versus Fungus: Root Hairs or Mold?
Before you dump your tray into the garbage as I did, we need to talk about a huge mistake that almost every beginner makes. You need to know if you are looking at actual mold or just innocent root hairs.
When seeds sprout, they grow tiny, microscopic roots that look like white peach fuzz. These are called root hairs. They are completely healthy, and they help the plant drink water. Mold, on the other hand, looks like a messy spiderweb that floats on top of the soil and crawls up the stems of your baby plants.
Here is a simple trick I use to tell them apart. Take a spray bottle filled with clean water and gently mist the white fuzz. If the white fuzz disappears instantly when it gets wet, those are healthy root hairs. If the fuzz stays there and clumps together like wet cotton candy, you are dealing with a mold problem.
Knowing the difference will save you a lot of unnecessary heartbreak and stop you from throwing away perfectly good food.
Why Mold Loves Your Indoor Grow Room:
To defeat your enemy, you have to understand what makes them happy. Mold does not just show up randomly. It loves very specific conditions, and your indoor growing room is often the perfect paradise for it.
Mold spores are everywhere in the air, just floating around, waiting for the perfect place to land and grow. They need three main things to thrive: high humidity, stagnant air, and warm temperatures. When you pack thousands of tiny seeds closely together in a warm room and dump a bunch of water on them, you are essentially throwing a giant party for fungal spores.
If your room feels stuffy or if you notice condensation forming on the inside of your windows, your relative humidity is way too high. We need to change the environment so that your microgreens love it, but mold hates it.
Step 1: Deep Clean Your Grow Trays:
My journey to a mold-free harvest always starts before a single seed ever touches the soil. You cannot get lazy with cleaning. If you reuse your plastic grow trays without washing them properly, you are inviting last month’s mold spores straight to your new crop’s dinner table.
I never use harsh chemicals that smell bad or leave weird residues. Instead, I use a simple cleaning routine with white vinegar or food-grade hydrogen peroxide.
First, I scrub the trays with warm, soapy water to get rid of any old soil or root chunks. Then, I spray the entire tray down with a mix of water and food-grade hydrogen peroxide. I let it sit for ten minutes so it can kill any microscopic spores hiding in the corners, and then I rinse it with clean water.
Let your trays dry completely in the sun or a clean area before you fill them up with your growing medium. Starting with a sterile environment is half the battle won.
Step 2: Choose the Right Growing Medium:
The dirt or mat you choose to grow your seeds in plays a massive role in water management. If your growing medium holds onto water like a heavy sponge, your roots will suffocate, and mold will quickly take over. This is a common issue known as damping off, where a fungus attacks the stems and causes your baby plants to fall over and die overnight.
I have experimented with many different options, from regular garden soil to fancy hemp mats. For indoor growing, I highly recommend using high-quality coco coir or a lightweight peat moss seed starting mix.
Coco coir is made from coconut husks. It is fantastic because it holds just the right amount of water while letting excess moisture drain away easily. It also does not have a lot of organic nutrients that mold loves to eat, which gives your seeds a clean, safe place to start their short lives.
Step 3: Mastering the Golden Rule of Seed Density:
When I first started, I thought that more seeds meant more food. I would pile seeds onto the tray until they were stacked on top of each other. This is the absolute fastest way to grow a beautiful crop of mold instead of microgreens.
When seeds are overcrowded, they compete for space and air. They trap moisture between their stems, creating a tiny jungle where air cannot circulate. The seeds on the bottom cannot dry out, and they quickly rot.
You must measure your seeds using a digital kitchen scale before planting. Every seed variety needs a different weight depending on its size. To help you get this right, here is a quick reference table for a standard ten-by-twenty-inch growing tray:
| Microgreen Variety | Recommended Seed Weight for 10×20 Tray |
| Broccoli | 12 to 14 grams |
| Radish | 20 to 25 grams |
| Sunflower | 100 to 110 grams |
| Pea Shoots | 140 to 150 grams |
| Mustard | 12 to 14 grams |
| Kale | 12 to 14 grams |
If you are using a smaller tray, you will need to scale these numbers down. The goal is to have a single layer of seeds evenly spread across the tray, with just a tiny bit of space between each one.
Step 4: The Blackout Period and Air Flow:
After you spread your seeds on the damp soil, you enter the blackout period. This is where you cover the seeds with another tray to keep them in the dark so they stretch out and grow tall stems.
A lot of people flip a tray over and create a dome, which traps a huge amount of humid air inside. Instead of a dome, I prefer the weighted blackout method. I place a tray directly on top of the seeds, and then I put a small weight, like a brick or a heavy stone, right on top of that tray.
This weight forces the roots to push deep into the soil, making the plants stronger. It also prevents air pockets from forming under a dome where mold loves to hide.
During this dark phase, check your seeds at least twice a day. Lift the top tray up, let the fresh air hit the seeds for a few minutes, and smell the tray. It should smell like fresh rain and clean dirt. If it smells sour or musty, you need to add more fresh air to the room immediately.
Step 5: The Bottom Watering Revolution:
If you only take one piece of advice from this entire guide, let it be this one: stop watering your microgreens from the top.
When you spray water over the top of your growing microgreens, the leaves and stems stay wet for hours. Fungal spores land on those wet leaves and start multiplying. Plus, top watering can push the delicate stems down into the dirt, causing them to rot.
The solution is bottom watering. To do this, you need a two-tray system. The top tray has holes in the bottom and holds your soil and microgreens. The bottom tray has no holes and acts as a water reservoir.
Instead of splashing water on top of your plants, you simply lift the top tray up and pour about a cup of water directly into the solid bottom tray. Then, you lower the top tray back down. The soil will drink up the water from the bottom like a straw, keeping the roots perfectly hydrated while the leaves and stems stay completely dry. This single change cut my mold issues down by ninety percent.
Step 6: Controlling Your Indoor Environment:
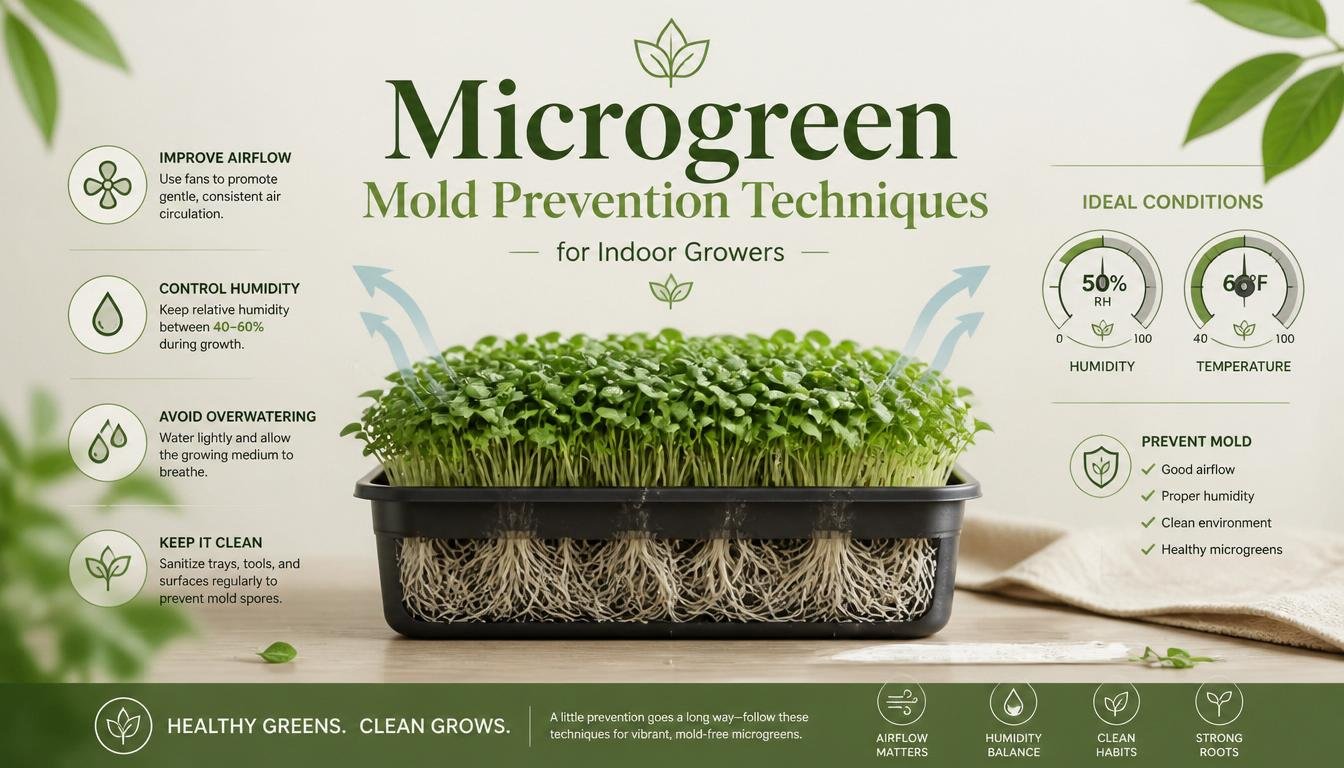
Your indoor grow room needs to feel comfortable to you. If it feels like a humid tropical rainforest, your microgreens are going to suffer. You need to actively manage your air circulation, temperature, and relative humidity.
Use Ventilation Fans:
Air must never be completely still in your grow room. I use cheap, small clip-on desk fans near my growing racks. You do not want a massive hurricane blowing your plants over; you just want a gentle, steady breeze that keeps the air moving around the stems. This moving air helps evaporate any excess moisture on the soil surface.
Monitor Relative Humidity:
I highly recommend buying a cheap digital humidity monitor, also called a hygrometer. Place it right next to your grow trays. For the best results, you want to keep your relative humidity levels between forty percent and sixty percent. If your room goes above sixty percent, it is time to turn on a dehumidifier or open a window to let the damp air escape.
Keep It Cool:
Microgreens grow best in cool to moderate temperatures. Aim to keep your indoor grow room between eighteen and twenty-two degrees Celsius. If your room gets too hot, fungal spores will wake up and grow at double the speed.
Step 7: Seed Sterilization for Troublemakers:
Some seeds are naturally more prone to mold than others. Large seeds like sunflower microgreens and pea shoots have thick, crinkly outer shells that easily trap dirt and wild mold spores from the field where they were harvested.
If you find that you are constantly fighting mold on your sunflower or pea crops, you need to start washing your seeds before you plant them.
Before soaking your large seeds, put them in a bowl with a mixture of water and a small splash of food-grade hydrogen peroxide. Let them swirl around in this bath for about five minutes. This quick sanitize step kills any hitchhiking fungal spores on the outside of the seed coat without hurting the tiny plant inside. After five minutes, rinse them thoroughly with fresh water, and then proceed with your normal soaking and planting routine.
My Emergency Mold Rescue Protocol:
Even with the best preparation, nature happens. Sometimes, a small patch of white mold might pop up in the corner of your tray. Do not panic, and do not throw the whole tray away just yet. If you catch it early, you can save the harvest.
The second I spot a small patch of spiderweb-like mold, I grab my secret weapon: a spray bottle filled with a three percent concentration of food-grade hydrogen peroxide. I do not dilute it with water for spot treatments; I use it straight.
Gently spray the infected area with a fine mist of the peroxide. You will actually see and hear it fizzing as it contacts the mold. The peroxide destroys the cell walls of the fungus, killing it instantly. Within an hour, the mold will wither away and turn into water and oxygen, leaving no toxic chemicals behind on your food.
After you spray the spot, increase the speed of your ventilation fans and move that specific tray to a spot with even better airflow. Keep a close eye on it for the next twenty-four hours to make sure the patch does not spread.
Conclusion:
Growing microgreens indoors is an incredibly rewarding hobby, but it requires you to be observant and disciplined. You do not need expensive, commercial-grade equipment to succeed. By simply keeping your trays meticulously clean, using a light medium like coco coir, measuring your seed density correctly, and switching to bottom watering, you can easily keep the fuzzy white nightmare away from your crops. Pay close attention to your room’s air movement and humidity levels, and always keep a bottle of hydrogen peroxide nearby just in case of emergencies. With these professional techniques in your toolkit, you will be harvesting beautiful, crisp, healthy greens week after week.
FAQs:
1. Can you eat microgreens that have had mold on them?
You can safely eat the healthy parts of the tray, but you must completely cut away and discard the specific sections that were touched by the mold.
2. How often should I bottom water my microgreen trays?
You should bottom water once a day, or whenever the bottom tray feels completely dry and light when you lift it up.
3. Why do my sunflower microgreens get moldy more than broccoli?
Sunflower seeds have large, rough shells that easily trap wild fungal spores during harvest, making them much more prone to mold growth.
4. Will regular house lights prevent mold on indoor crops?
No, regular lights do not stop mold, but proper airflow from a fan and low humidity are what actually prevent fungal growth.
5. Is white mold on microgreens toxic to humans?
While most common tray molds are not deadly, eating mold can cause allergic reactions, stomach aches, or respiratory issues, so you should always avoid consuming it.
6. Can I use liquid bleach to clean my plastic grow trays?
Yes, you can use a very weak bleach and water mix to sanitize trays, but you must rinse them completely and let them air dry so no chemical residue remains.